


Getting a bell tent can be daunting, not least because of the assembly of the thing. Bell tents are large–enormous compared to the nylon number you’ve probably used in the past, and there are so many stakes and pieces of rope involved.
In reality, though, I found the bell tent we bought recently easier to put up than a typical nylon tent. It’s a two-person job, thanks mostly just to the weight of the thing–our 4-meter-diameter bell tent clocks in at 50 pounds. But it’s also more straightforward in its construction. I intuitively understood where each part was supposed to go, and what purpose it would serve.
RELATED: A First Bell Tent Adventure, Photo Gallery Included.

Drawing on the experience I now have under my belt, here’s my guide to erecting a bell tent, with step-by-step instructions…
Step One: Remove the Tent from Its Bag

The bell tent, groundsheet included, came in a matching duffel bag that measures a little more than three feet long. Obviously, the first step is to get the tent out of the bag. Do so, and then arrange it flat on the ground where you plan to assemble it.
Step Two: Place the Stakes, Round One
Pictured above, you can see the entire tent lying in its eventual footprint. At this point, the groundsheet is already attached to the upper tent. Some bell tents have removable groundsheets and some don’t. Ours is removable, but was already attached when we received it. If it’s not, this is the point at which you’ll want to zip the two pieces together.
From there, we place stakes through loops in the groundsheet all the way around, securing the groundsheet.
Step Three: Put the Poles in Place
I made my way inside the flat tent to put the center pole up. There’s a suction cup on each end of the pole that helps keep it in place, but there are no attachments to worry about. Be sure to place the end of the pole with the metal loop sticking out from it up top–you can hang lights etc from it.
There’s another pole that fits together to give shape to the door frame. This is easy to get in place, there’s one loop to secure top and center and two slots on either side for the legs to fit in.
In the photo above you’ll note that when the tent comes out of the bag, it’s wrinkly. Rest easy knowing that the wrinkles work themselves out within hours.
Step Four: Attach and Stake the Guy Ropes

Next, attach the white ropes to the loops just above the window level of the tent. Attaching the series of guy ropes to the tent is, thankfully, a task you’ll only have to complete the first time you put the bell tent up. You can leave them on when you take it down and pack it up.
Once they’re attached to the tent, fasten the guy ropes to the ground with the next round of stakes. At this point, you want the ropes to be somewhat slack.
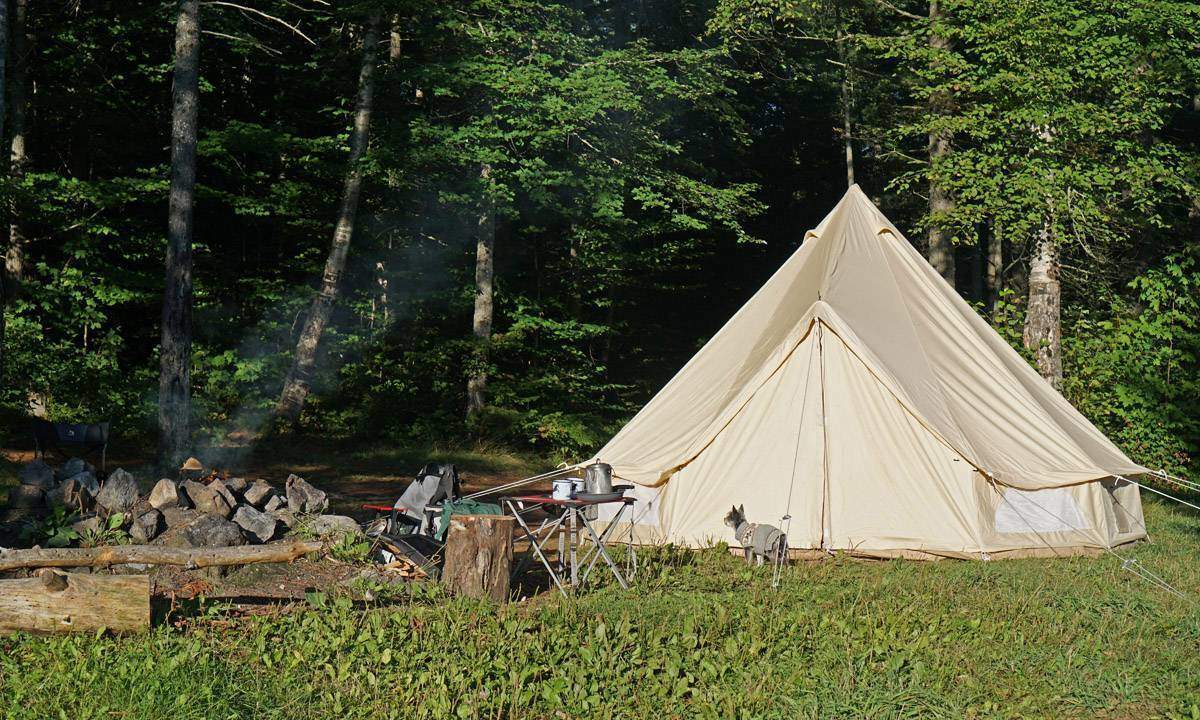
Step Five: Tighten the Guy Ropes
This is the last, most gratifying step. Walk around the tent and tighten each rope until the tent itself is taut. It’s the voila moment. The photo above was taken the morning after we put the tent up. Notice that all the wrinkles have disappeared.
Read more about my adventures with a bell tent, and see a photo gallery of it.